Learning how to control LED lighting smoothly starts with one practical question: “How to use dimmer switches with LED bulbs?” The answer depends on compatibility, wiring, bulb quality, and the dimmer’s load range. An LED bulb may fit the socket perfectly but still flicker, buzz, or refuse to dim. I have seen this happen in living rooms, kitchens, and older homes with traditional dimmers. The problem is rarely the switch alone.
This guide explains how to choose an LED-compatible dimmer, check bulb ratings, and test performance safely. You will learn why trailing-edge dimmers often suit modern LEDs better than older leading-edge models. You will also see how minimum-load requirements affect low-wattage bulbs. Small details matter. A six-watt bulb can behave very differently from a sixty-watt incandescent lamp. Always turn off the circuit before inspecting wiring, and follow the manufacturer’s instructions carefully. If the wiring looks confusing, contact a qualified electrician rather than guessing.
Expect a few imperfect results during testing. Some bulbs dim smoothly at first, then flicker near the lowest setting. Others work well individually but struggle when several bulbs share one dimmer. That can be frustrating. Still, these symptoms provide useful clues. With verified compatibility, correct installation, and patient adjustment, LED lighting can become quieter, softer, and more energy efficient. This 2026 guide focuses on real-world decisions, not just ideal product claims.
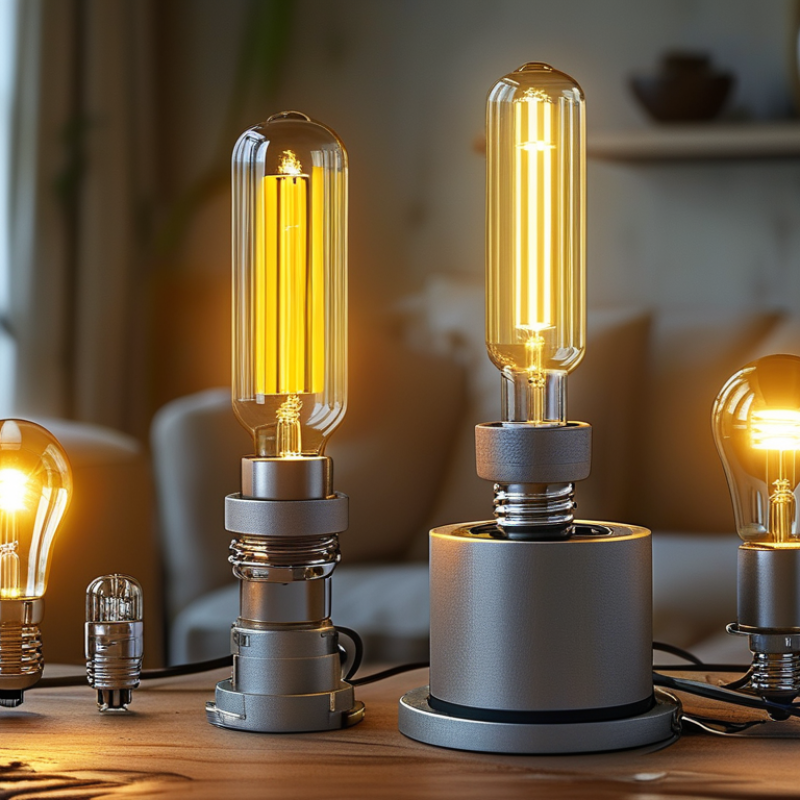
LED dimming is not simply a smaller version of incandescent dimming. An incandescent bulb uses a resistive filament that responds smoothly to reduced voltage. An LED bulb contains an electronic driver, which controls current before the light-emitting diodes produce light. That driver determines whether dimming feels stable or frustrating.
In practical testing, an LED may flicker near the lowest setting, buzz during adjustment, or switch off unexpectedly. These symptoms often indicate an incompatible dimmer, an unsuitable load range, or a driver with poor low-level control. Check the bulb’s dimmability label and the dimmer’s compatibility information. A dimmer designed for incandescent loads may still operate an LED, but reliable performance is not guaranteed. LED loads also use very little power, so the dimmer may not detect them correctly.
Start with one compatible LED bulb before changing several fixtures. Set the dimmer near its lowest level, then raise it slowly. The light should remain steady without visible pulsing. Some dimmers allow low-end and high-end adjustments, which can improve performance. Use the correct wiring method, especially when a neutral wire is required.
Small details matter.
I once assumed that identical wattage meant identical dimming behavior. It does not. Two LED bulbs with the same brightness can respond differently because their drivers are built differently. If flicker, heat, or unusual noise continues, stop testing and ask a qualified electrician to inspect the circuit.
Before connecting an LED bulb to a dimmer, read both product labels carefully. The bulb should clearly state “dimmable” and list compatibility with a 120 V AC circuit. A standard non-dimmable LED may flicker, stay faintly lit, or fail when connected to a dimmer.
Check the dimmer’s minimum and maximum load ratings. LED loads are usually lower than incandescent loads, so the wattage range may not match. Also look for the recommended dimming method, such as leading-edge or trailing-edge control.
These details matter. The labels should agree, not merely mention 120 V. Turn off the circuit breaker before replacing equipment, then verify the wires are not energized with a suitable tester.
I have seen a “compatible” bulb still produce a faint buzz in one older dimmer. That result needs investigation, not guesswork.
Try one bulb first, rather than filling the entire circuit. Observe the light at low, medium, and full brightness for several minutes.
Uneven dimming or sudden shutoff can indicate a poor match, an overloaded control, or loose wiring. Stop if the wall plate becomes unusually warm.
A qualified electrician should inspect unfamiliar wiring, multi-way switches, or circuits with uncertain voltage.
Labels are useful, but installation conditions can change the outcome.
Before installing LED bulbs, calculate the total connected load. Add the wattage printed on every bulb, not the old incandescent rating. For example, six 9-watt bulbs create a 54-watt load. Compare that figure with the dimmer’s rated LED range, including its minimum and maximum limits. A dimmer rated from 10 to 150 watts should accept 54 watts. However, the label may use different ratings for LED and incandescent loads. Read the technical sheet carefully.
Small loads can still cause trouble. A single 6-watt bulb may fall below the dimmer’s minimum requirement. This can produce flickering, buzzing, delayed startup, or a narrow dimming range. Some LED drivers also create a brief inrush current when switched on. Therefore, staying below the maximum wattage does not guarantee perfect operation. In my experience, testing one bulb before installing twelve saves time, although this step is often skipped.
Tips: Record each bulb’s wattage and calculate the total on paper. Check both minimum and maximum LED ratings. Use bulbs marked dimmable, and never assume every LED responds smoothly. If the lights flicker after correct loading, inspect loose connections and compatibility data. Turn off the circuit at the breaker before handling wiring. For uncertain installations, ask a qualified electrician to verify the load and enclosure conditions.
Calculate the connected load by multiplying the number of LED bulbs by the wattage printed on each bulb. The total LED wattage should be within both the dimmer’s minimum and maximum LED load ratings. Always confirm that the bulbs are labeled dimmable and compatible with the dimmer.
| Example | Bulb Quantity | LED Wattage per Bulb | Load Calculation | Total LED Load | Dimmer Rated LED Range | Load Result | Practical Guidance |
|---|---|---|---|---|---|---|---|
| Small bedroom fixture | 2 | 6 W | 2 × 6 W | 12 W | 5–100 W | Within range | Suitable by wattage. Verify that both bulbs are dimmable and have compatible dimming behavior. |
| Three-light ceiling fixture | 3 | 8 W | 3 × 8 W | 24 W | 10–150 W | Within range | Leave sufficient capacity below the dimmer’s maximum rating. Check for flicker at the lowest setting. |
| Eight-bulb kitchen fixture | 8 | 9 W | 8 × 9 W | 72 W | 5–150 W | Within range | Load is acceptable if the dimmer is specifically rated for LED lighting and the circuit voltage matches. |
| Recessed lighting group | 6 | 10 W | 6 × 10 W | 60 W | 15–100 W | Within range | Confirm that the dimmer rating applies to LED bulbs or LED fixtures, not only to incandescent loads. |
| Low-wattage accent lights | 12 | 5 W | 12 × 5 W | 60 W | 10–150 W | Within range | The total load exceeds the minimum rating, which generally improves low-level dimming stability. |
| Two decorative bulbs | 2 | 4 W | 2 × 4 W | 8 W | 10–100 W | Below minimum | Possible symptoms include flickering, buzzing, failure to turn on, or a limited dimming range. Use a dimmer with a lower LED minimum load. |
| High-output ceiling fixture | 10 | 15 W | 10 × 15 W | 150 W | 10–150 W | At maximum | Do not exceed the maximum rating. Check installation instructions for heat-related derating when multiple devices share a box. |
| Mixed-wattage fixture | 4 | 7 W, 8 W, 9 W, and 10 W | 7 + 8 + 9 + 10 W | 34 W | 10–100 W | Within range | Using different LED models may produce uneven brightness or different dimming curves. Matching bulb types is preferable. |
| Fixture with a non-dimmable LED bulb | 4 | 9 W each | 4 × 9 W | 36 W | 10–100 W | Not compatible | Even though the wattage is within range, a non-dimmable bulb should not be used on a dimmer unless the manufacturer explicitly permits it. |
Key rule: Total LED load = bulb quantity × wattage per bulb. The calculated load must be at or above the dimmer’s minimum LED load and at or below its maximum LED load. Wattage compatibility alone does not guarantee quiet, flicker-free operation; also check bulb dimmability, dimmer type, operating voltage, wiring requirements, and installation instructions.
2026 Top Guide: How to Use Dimmer Switches With LED Bulbs?
Turn off the circuit breaker before touching any wire. A wall switch is not enough. Confirm the circuit is dead with a non-contact voltage tester, then test again at the box. The incoming hot wire is line. The wire leaving toward the light is load. The bare or green wire is ground. Match each terminal carefully, and tighten connections firmly without crushing the copper.
The U.S. Department of Energy reports that LED lighting uses at least 75% less energy and can last up to 25 times longer than incandescent lighting. However, lower energy use does not remove installation risks. The Electrical Safety Foundation International cites about 400 electrical fatalities and 30,000 non-fatal shock injuries in the United States each year. Small errors matter.
Check that the dimmer is rated for LED loads, not only traditional lamps. Confirm the bulb is dimmable, and follow the wiring diagram supplied with the device. A loose ground or reversed line and load connection can create heat, flicker, or unsafe operation. It is easy to assume every box has the same wiring. It does not. If the wires are damaged, the circuit has multiple switches, or testing results seem unclear, stop and ask a qualified electrician. I would rather leave one cover plate unfinished than guess behind a live wall.
LED flicker usually starts with compatibility, not a defective bulb. Check that the dimmer is specifically rated for dimmable LED loads. Then confirm the total wattage stays within its minimum and maximum range. A single low-wattage bulb may fall below the dimmer’s operating threshold. Add compatible load only when the manufacturer permits it. Never guess.
Test one bulb at a time. Set the control near full brightness, then lower it slowly. If flicker appears only at the bottom, adjust the dimmer’s low-end trim, if available.
Buzzing may come from electrical components vibrating under phase-cut control. A faint sound can be normal, but a sharp or increasing buzz deserves attention.
Turn off power before checking connections, and use a qualified electrician for fixed wiring.
Dropout feels different: the lamp suddenly turns off, then returns when the control moves higher. This often indicates insufficient load, an incompatible dimmer, or unstable wiring. Limited range can result from the bulb’s internal driver, not the switch.
I have seen two bulbs with identical ratings dim very differently. That result is inconvenient, but real. Replace the weakest component with a tested, compatible model.
Keep a note of the dimmer setting, bulb count, and failure point. Small details reveal patterns.
: Check the bulb label for “dimmable” and compatibility with a 120 V AC circuit. A non-dimmable bulb may flicker, buzz, glow faintly, or fail. Labels can mislead.
Check the dimmer’s minimum and maximum LED load ratings. Do not rely only on its incandescent rating. Also confirm the recommended control method, such as leading-edge or trailing-edge dimming.
Add the wattage printed on every bulb. Six 9-watt bulbs create a 54-watt load. Compare 54 watts with the dimmer’s LED range. Check both limits carefully.
Yes. A single 6-watt bulb may fall below the dimmer’s minimum load. This can cause flickering, buzzing, delayed startup, or limited dimming. A small load is not always easier.
Yes. Test one bulb first. Observe low, medium, and full brightness for several minutes. Watch for uneven dimming, sudden shutoff, or a faint buzz. I would not fill the whole circuit immediately.
Turn off the circuit breaker, not just the wall switch. Confirm the circuit is dead with a suitable voltage tester. Test again inside the electrical box. Do not trust appearance alone.
The incoming hot wire is line. The wire leading to the light is load. The bare or green wire is ground. Follow the supplied wiring diagram and tighten terminals firmly.
Stop if wires are damaged, voltage is uncertain, or multiple switches are involved. Also stop if the wall plate becomes unusually warm. Loose connections, reversed wiring, or unfamiliar boxes deserve professional inspection. Guessing behind a live wall is a poor plan.
How to use dimmer switches with LED bulbs? Start by understanding that LED bulbs behave differently from incandescent bulbs and require compatible dimming equipment. Check the bulb and dimmer labels to confirm they are designed for LED use and match the circuit voltage, such as 120 V. Then calculate the total wattage of the connected LED bulbs and keep it within the dimmer’s specified load range. Using too many bulbs or an unsuitable dimmer may cause poor performance or damage.
Before installation, turn off power at the circuit breaker and verify that the circuit is no longer energized. Connect the line, load, and ground wires according to the product instructions, and seek qualified electrical help if anything is unclear. After installation, test the lights at different brightness levels. Flickering, buzzing, delayed start-up, sudden shutoff, or a narrow dimming range may indicate compatibility, wiring, or load issues that require adjustment.

Luma Bulb